摘要
最终部分:工具类、子弹射击与 Boss 随机移动。
正文
版本说明
使用 CocosCreator 的 2.1.3 版本开发。 建议先下载完整项目工程,搭配文章“食用”!源码链接在文章最下方。
工具类
游戏中一些常用的方法我们一般都会封装起来,起名为 Util。这里我简单的封装了几个方法,比如打印、随机小数、随机角度并转向量。
export class Util {
static isDebug: boolean = true
static log (...args: any[]): void {
if (!this.isDebug) { return }
for (let item of args) {
console.log(item)
}
}
}
|
随机范围内小数
static randomNumber (min: number, max: number): number {
return min + Math.random() * (max - min)
}
|
子弹的移动是靠方向向量,所以我们需要转化,通过 sin 与 cos
static randomDir (minAngle: number, maxAngle: number): cc.Vec2 {
let angle = this.randomNumber(minAngle, maxAngle)
let rad = cc.misc.degreesToRadians(angle)
return cc.v2(Math.cos(rad), Math.sin(rad))
}
|
子弹射击
通过一系列的准备,子弹的创建和射击变得很是简单
this.bulletFactory.createBullet(BulletType.R, Util.randomDir(0, 360), 800)
|
子弹创建完毕后,我们设置它从 Boss 那里射出即可(this.enemy 就是 Boss 节点)
let bullet = this.bulletFactory.createBullet(BulletType.R, Util.randomDir(0, 360),  800)
bullet.setPosition(this.enemy.x, this.enemy.y)
|
需要注意的是第二种月牙子弹,也就是 M 型子弹,它是旋转射击出来的,我么需要为其指定一个角度变量,每隔一定时间自增 30 度,需要注意的是,Cocos 中的角度按照 x 轴正方向算的 0 度,我们图片向上,差 90 度,加上即可
this.typeMBulletAngle += 30
if (this.typeMBulletAngle >= 360) {
    this.typeMBulletAngle = 0
}
let rad = cc.misc.degreesToRadians(this.typeMBulletAngle)
let bullet: cc.Node = this.bulletFactory.createBullet(BulletType.M, cc.v2(Math.cos(rad), Math.sin(rad)), 650)
bullet.angle = this.typeMBulletAngle + 90
bullet.setPosition(this.enemy.x, this.enemy.y)
|
射击工厂
这里封装的射击函数 shoot() 采用了 if-else 分支判断,switch 也可
shoot (type: BulletType): void {
if (type === BulletType.R) {
} else if (type === BulletType.M) {
this.typeMBulletAngle += 30
if (this.typeMBulletAngle >= 360) {
this.typeMBulletAngle = 0
}
} else if (type === BulletType.F) {
for (let i = 0; i <= 360 ; i += 30) {
}
} else if (type === BulletType.B) {
}
}
|
简单的时间控制,注意用匿名函数写法,否则会被覆盖
let deltaTime: number = 5
let startTime: number = 4
this.schedule(() => this.shoot(BulletType.R), 0.02, cc.macro.REPEAT_FOREVER, startTime)
this.schedule(() => this.shoot(BulletType.M), 0.06, cc.macro.REPEAT_FOREVER, startTime + 1 * deltaTime)
this.schedule(() => this.shoot(BulletType.F), 0.4, cc.macro.REPEAT_FOREVER, startTime + 2 * deltaTime)
this.schedule(() => this.shoot(BulletType.R), 0.02, cc.macro.REPEAT_FOREVER, startTime + 3 * deltaTime)
this.schedule(() => this.shoot(BulletType.B), 0.5, cc.macro.REPEAT_FOREVER, startTime + 4 * deltaTime)
this.schedule(() => this.shoot(BulletType.M), 0.06, cc.macro.REPEAT_FOREVER, startTime + 5 * deltaTime)
this.schedule(() => this.shoot(BulletType.R), 0.02, cc.macro.REPEAT_FOREVER, startTime + 6 * deltaTime)
this.schedule(() => this.shoot(BulletType.F), 0.4, cc.macro.REPEAT_FOREVER, startTime + 7 * deltaTime)
|
随机移动
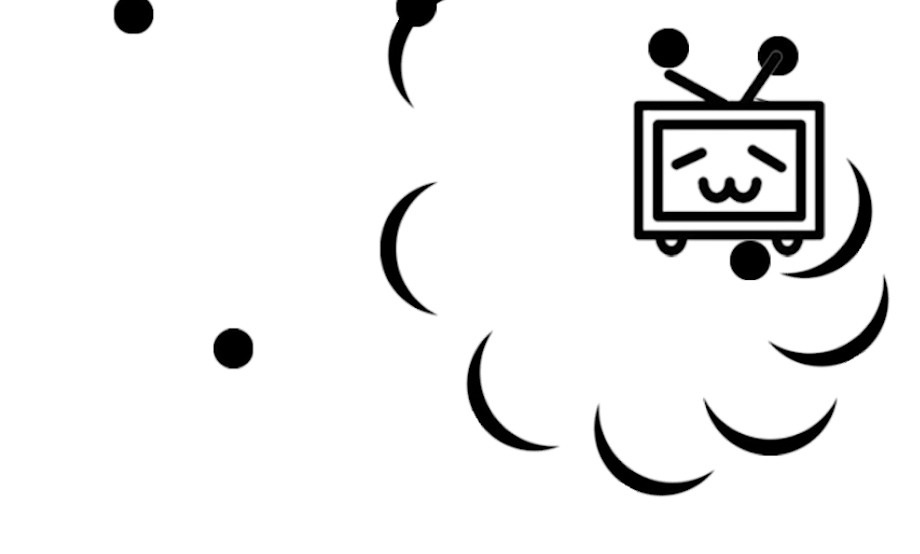
我们的小飞机是在随机的移动的,怎么实现的呢?首先,小飞机是这样移动的:
update (dt: number): void {
    if (this.dir.x !== 0) {
        this.node.x += this.speed * this.dir.x * dt
    }
    if (this.dir.y !== 0) {
        this.node.y += this.speed * this.dir.y * dt
    }
}
|
显然,我们改变 this.dir 即可!封装一个方法
randomDir (): void {
    let dir = Util.randomDir(0, 360)
    this.dir.x = dir.x
    this.dir.y = dir.y
}
|
设置定时器
start (): void {
this.schedule(this.randomDir, 5, cc.macro.REPEAT_FOREVER, 4)
}
|
这样就实现了小飞机的随机移动,最后我们限定小飞机的移动范围,如图
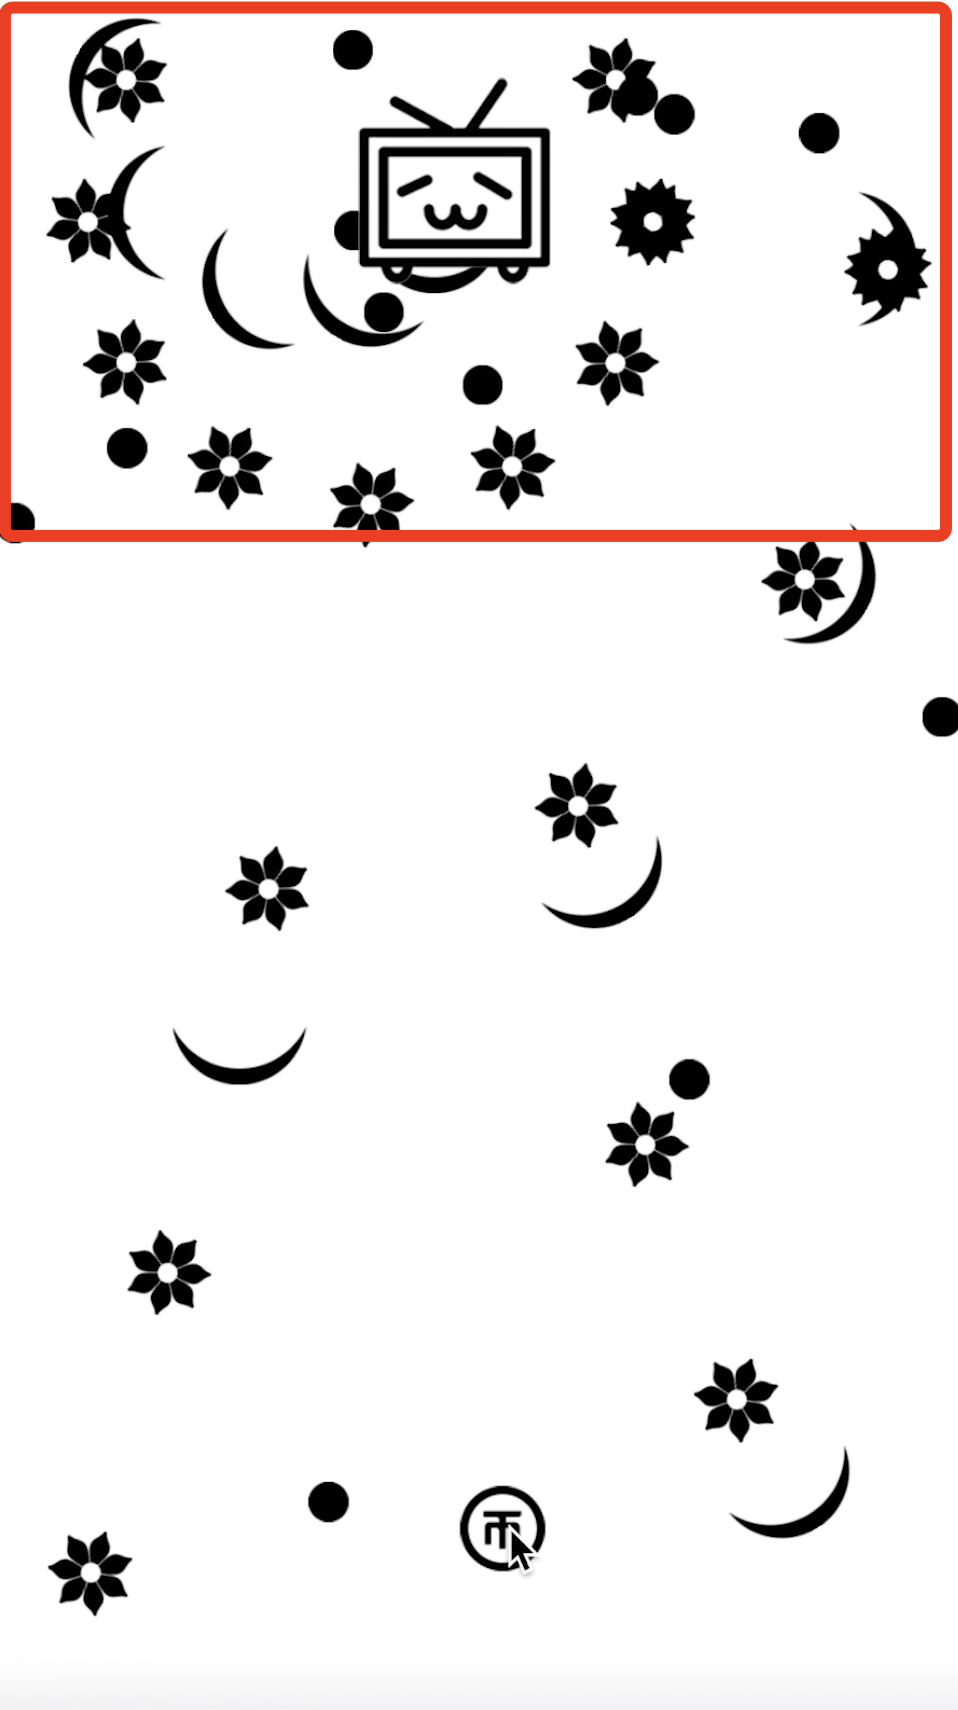
对于这个项目,小飞机的 x 应该在 -300 到 300 之间,小飞机的 y 应该在 400 到 580 之间,所以 update 里面应该这样写
update (dt: number): void {
if (this.dir.x !== 0) {
this.node.x += this.speed * this.dir.x * dt
}
if (this.dir.y !== 0) {
this.node.y += this.speed * this.dir.y * dt
}
if (this.node.x < -300) this.dir.x = this.dir.x > 0 ? this.dir.x : -this.dir.x
if (this.node.x > 300) this.dir.x = this.dir.x < 0 ? this.dir.x : -this.dir.x
if (this.node.y > 580) this.dir.y = this.dir.y < 0 ? this.dir.y : -this.dir.y
if (this.node.y < 400) this.dir.y = this.dir.y > 0 ? this.dir.y : -this.dir.y
}
|
结语
Alive 项目就此结束!代码本身没什么难度,主要是帮助大家更好的理解面向对象,以及设计模式的简单使用,希望大家有所收获!
O(∩_∩)O~~
源码地址
https://github.com/KuoKuo666/Alive