摘要
俄罗斯方块小游戏,TypeScript 语言,适合学习,已开源!
正文
使用版本
CocosCreator 版本 2.2.2
游戏演示

一个月前就想做了,结果先鸽了半个月,16 天前完成 demo,后来又加入了方块数据编辑场景。再后面几天做了一些修改,加了一些注释,今天才做了出来,大家千万不要学我,要克服懒惰 O(∩_∩)O~
关系图
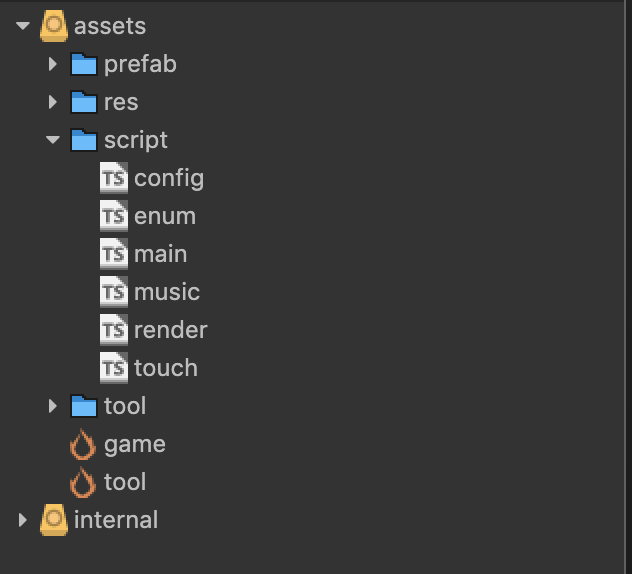
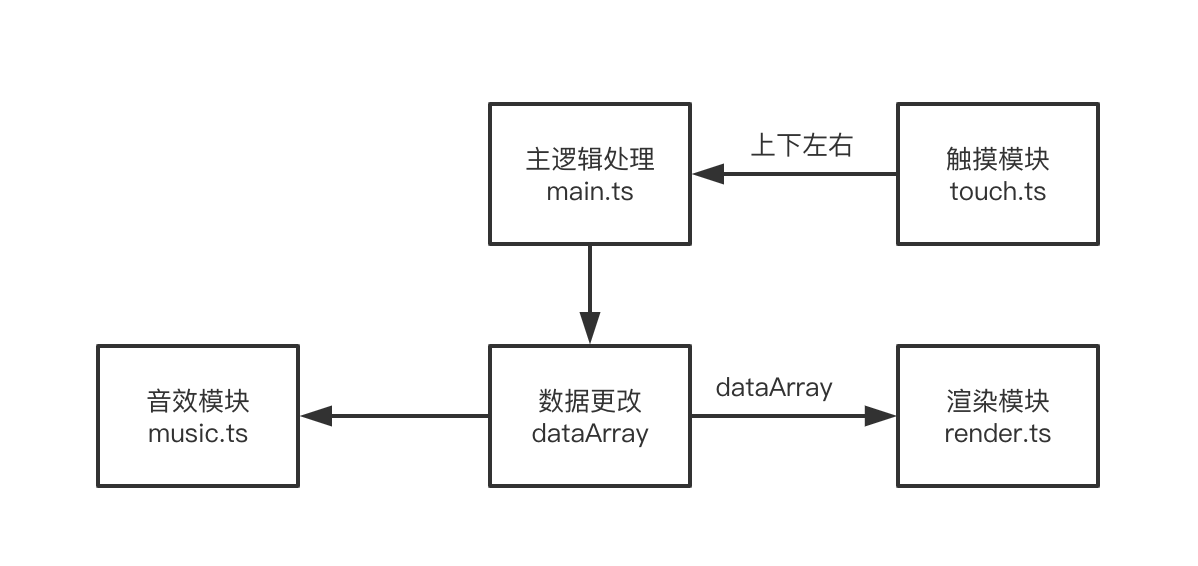
首先我们看下脚本的关系图:
写些枚举
枚举的好处不再多说,我们先理一理俄罗斯方块这个游戏都需要些什么枚举。第一个是游戏中方块渲染,在 12 * 7 的格子中,每个格子应该有八种状态,或者说是不渲染与七种颜色;第二个是触摸事件,我们手指上下左右操作对应的事件名称;第三个就是各种音效对应的枚举;最后一个,是我为了方便使用 cc.find 找到节点的路径写的枚举。
enum.ts
export enum ItemColor {
NULL = 0,
Color1,
Color2,
Color3,
Color4,
Color5,
Color6,
Color7,
}
export enum TouchEvent {
UP = 'touch-up',
DOWN = 'touch-down',
LEFT = 'touch-left',
RIGHT = 'touch-right'
}
export enum MusicEvent {
BGM = 'bgm',
ACTION = 'action',
GAME_OVER = 'over',
ELIMINATE = 'eliminate'
}
export enum NodeUrl {
Canvas = 'Canvas',
Music = 'Music'
}
|
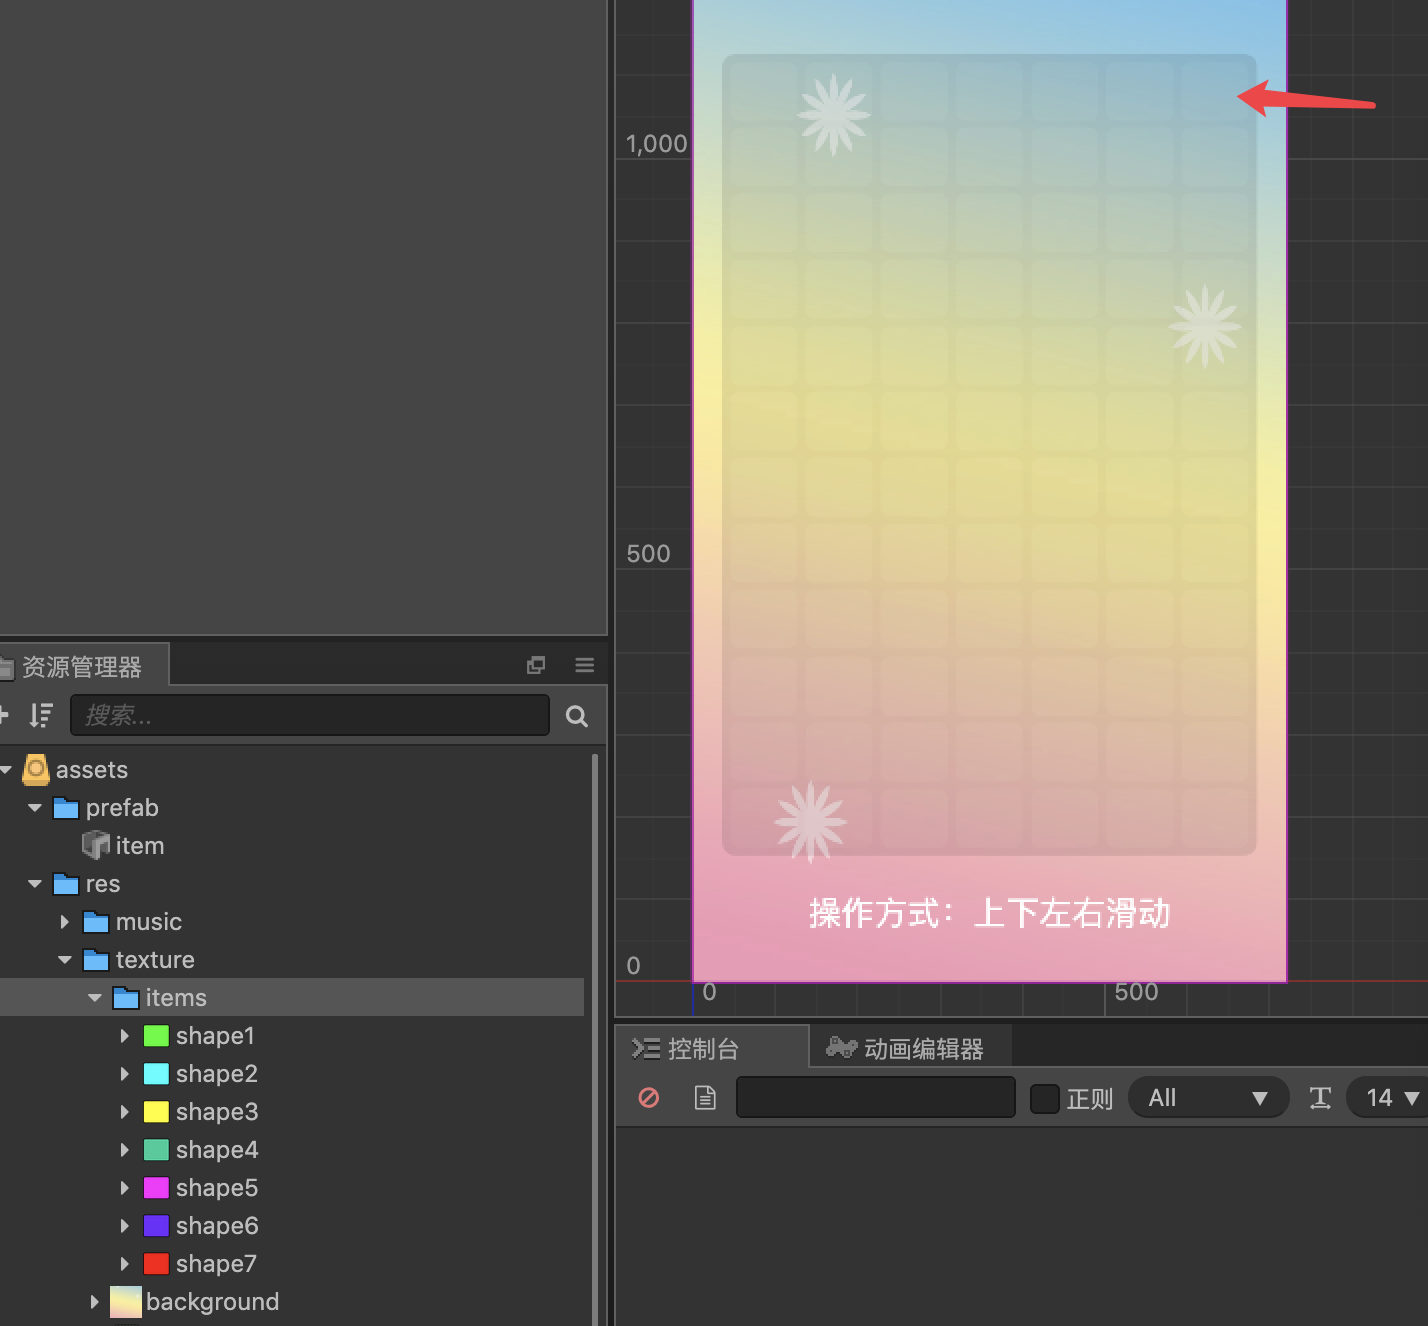
render 渲染模块
游戏主场景是 12 _ 7 方格,这个渲染模块就是通过一个 12 _ 7 的数据数组对应,进行渲染。首先,将 12 * 7 个方格里面铺满带图片的节点(预制体 item 就是带有精灵组件的一个节点,config 中存着一些常量):
init () {
const height = config.row * config.blockHeight
const width = config.col * config.blockWidth
for (let i = 0; i < config.row; i++) {
this.itemArray[i] = []
for (let j = 0; j < config.col; j++) {
const x = -width / 2 + config.blockWidth / 2 + j * config.blockWidth
const y = height / 2 - config.blockHeight / 2 - i * config.blockHeight
const item = this.createItem(x, y)
this.itemArray[i][j] = item
}
}
}
createItem (x: number, y: number): cc.Node {
let item = cc.instantiate(this.item)
this.node.addChild(item)
item.setPosition(x, y)
item.setContentSize(config.itemWidth, config.itemHeight)
return item
}
|
render.ts 中的渲染函数,根据传入数据进行图片替换,不渲染时数组越界为 undefined,取消掉纹理:
render (dataArray: ItemColor[][]) {
for (let i = 0; i < config.row; i++) {
for (let j = 0; j < config.col; j++) {
const color = dataArray[i][j]
this.itemArray[i][j].getComponent(cc.Sprite).spriteFrame = this.itemSpriteFrames[color - 1]
}
}
}
|
这样渲染模块的 render 函数只接受一个二维数组数据,主逻辑那边只操作数据,最后调用下 render 即可!看下 render.ts 整体:
import { config } from "./config"
import { ItemColor } from "./enum"
const {ccclass, property} = cc._decorator
@ccclass
export default class Render extends cc.Component {
@property(cc.Prefab)
item: cc.Prefab = undefined
@property([cc.SpriteFrame])
itemSpriteFrames: cc.SpriteFrame[] = []
itemArray: cc.Node[][] = []
onLoad () {
this.init()
}
init () {
const height = config.row * config.blockHeight
const width = config.col * config.blockWidth
for (let i = 0; i < config.row; i++) {
this.itemArray[i] = []
for (let j = 0; j < config.col; j++) {
const x = -width / 2 + config.blockWidth / 2 + j * config.blockWidth
const y = height / 2 - config.blockHeight / 2 - i * config.blockHeight
const item = this.createItem(x, y)
this.itemArray[i][j] = item
}
}
}
render (dataArray: ItemColor[][]) {
for (let i = 0; i < config.row; i++) {
for (let j = 0; j < config.col; j++) {
const color = dataArray[i][j]
this.itemArray[i][j].getComponent(cc.Sprite).spriteFrame = this.itemSpriteFrames[color - 1]
}
}
}
createItem (x: number, y: number): cc.Node {
let item = cc.instantiate(this.item)
this.node.addChild(item)
item.setPosition(x, y)
item.setContentSize(config.itemWidth, config.itemHeight)
return item
}
}
|
逻辑数据处理
方块的数据我是这样规定的:
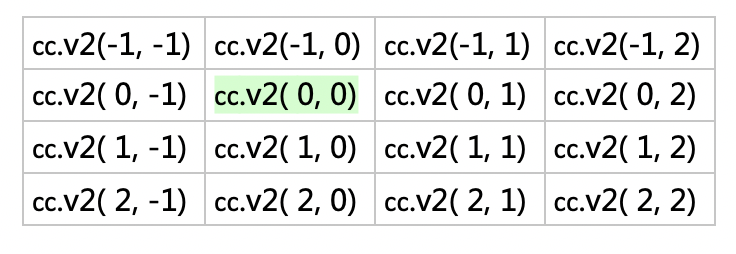
绿色那里代表(0,0)位置,这样有相对位置,方便处理数据,我就这样定义了当前方块的数据结构:
currentShape: CurrentShapeData = {
center: cc.v2(0, 0),
index: 0,
color: ItemColor.NULL
}
|
身为程序员(懒人),必然得方便自己搞个编辑数据的场景(举例:7 形状的数据就是上面图片表格对应的一个数组)
我们在 main 主脚本维护一个二维数组数据:
dataArray: ItemColor[][] = []
|
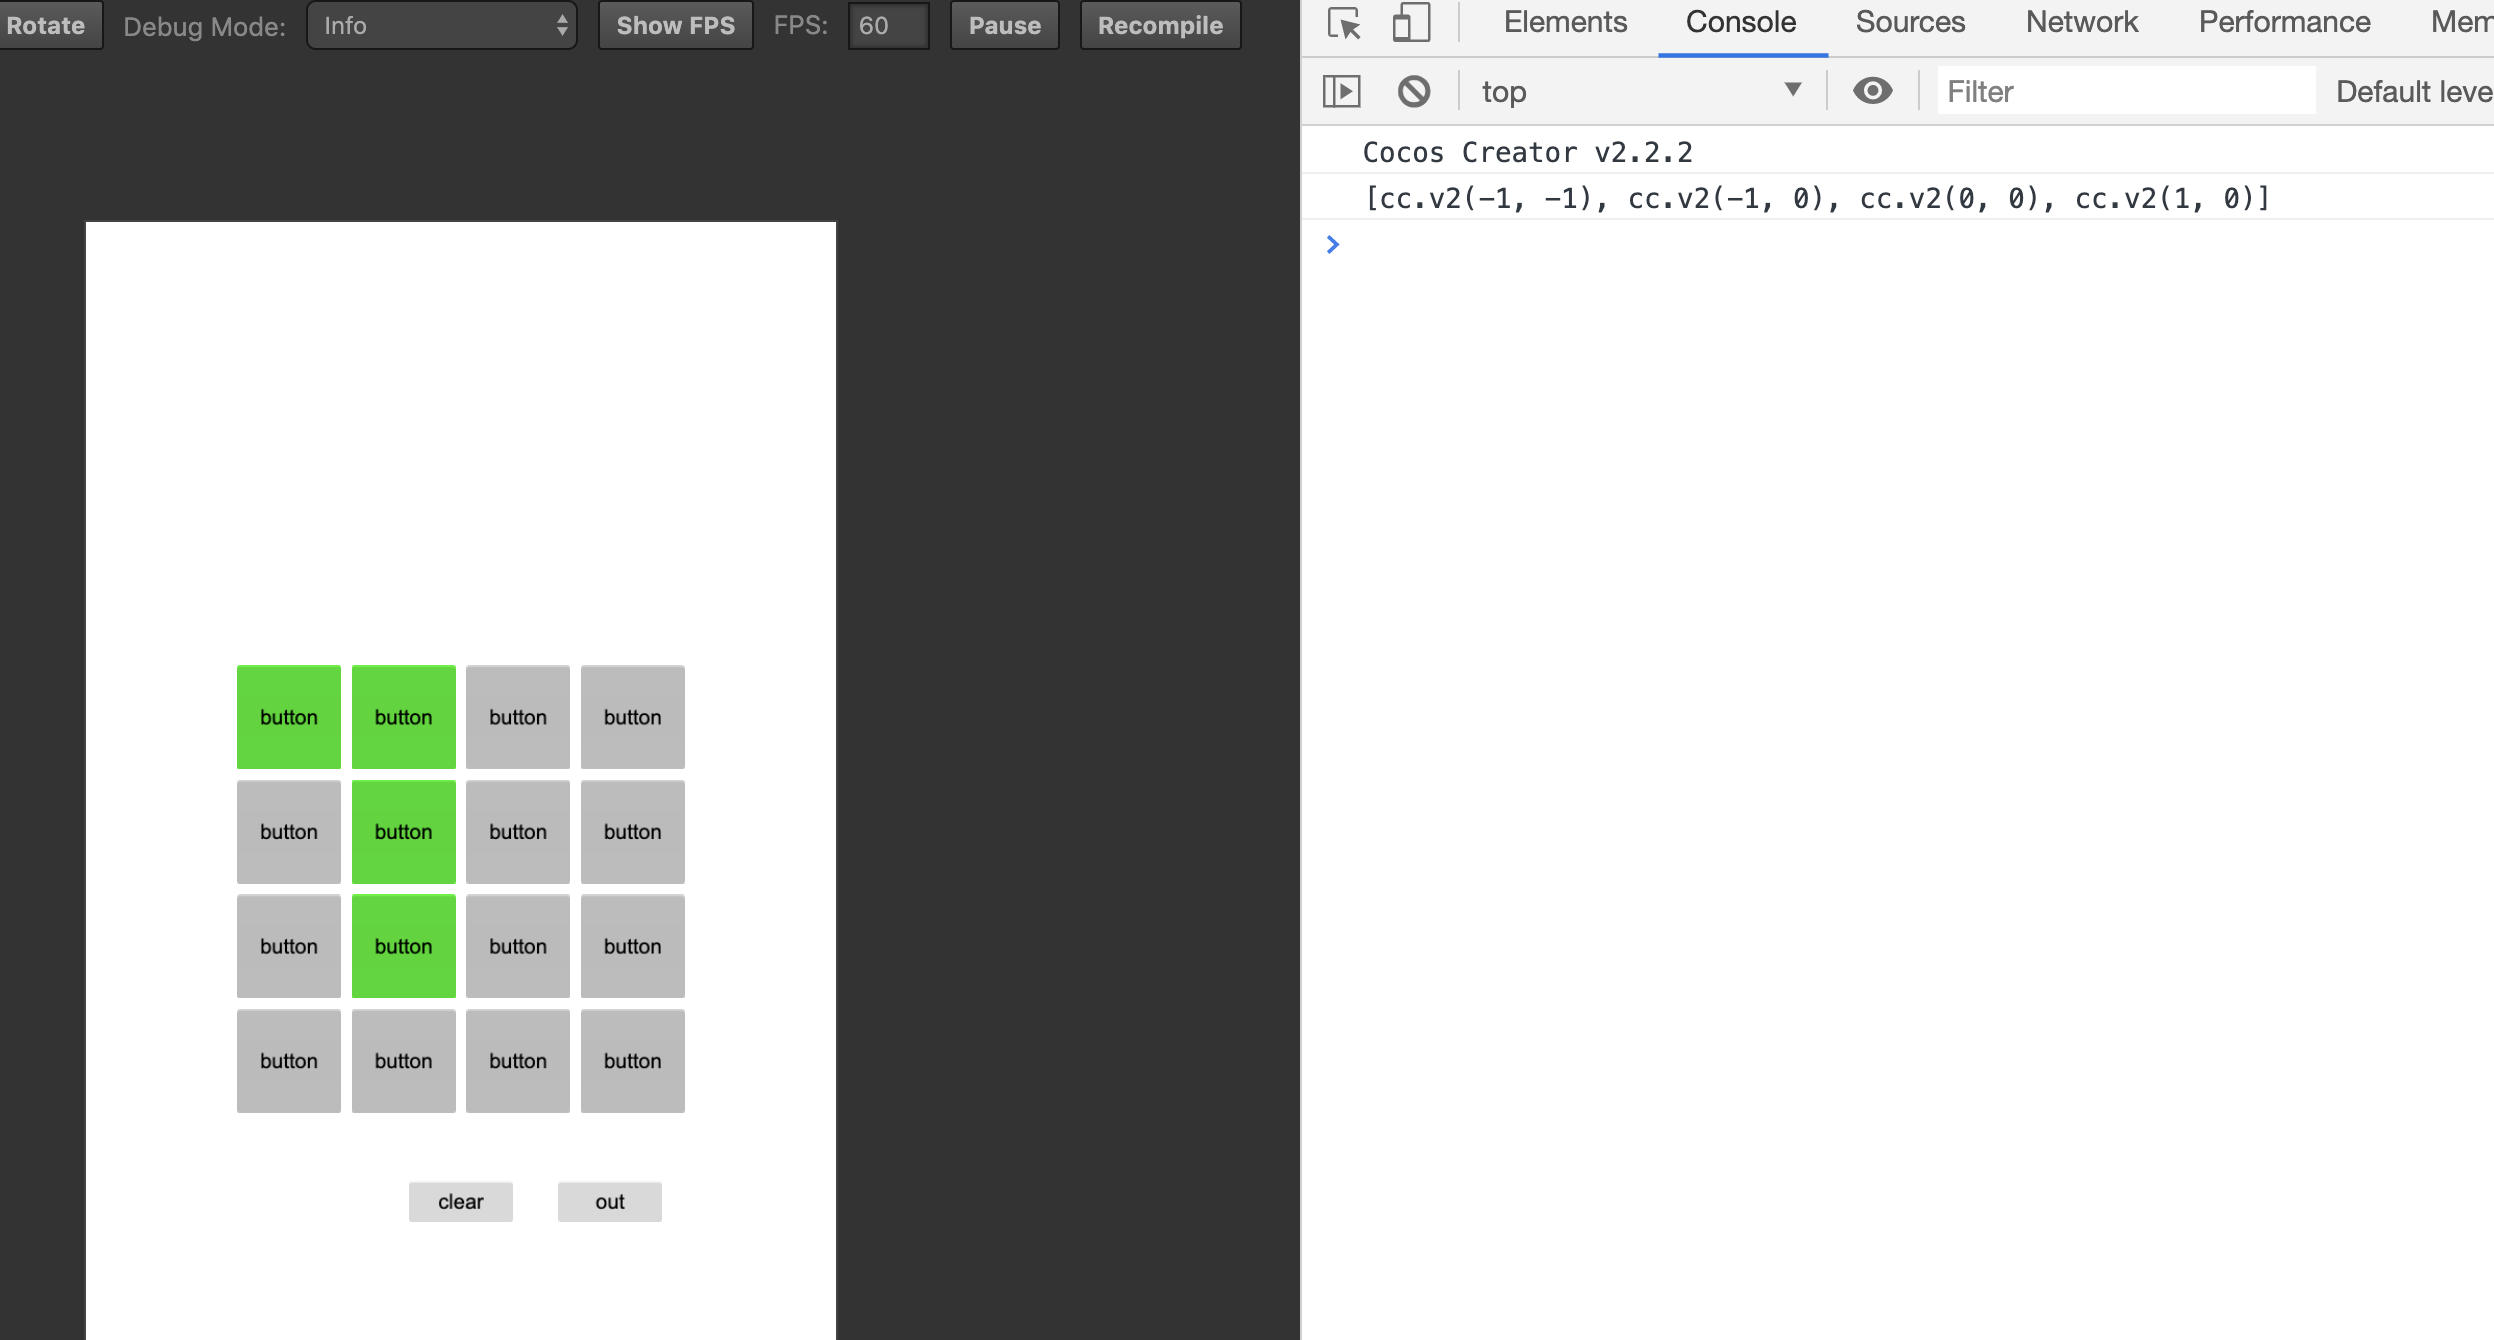
这样比如我们新添加一个形状到游戏里,只要先获取这个数组[cc.v2(-1, -1), cc.v2(-1, 0), cc.v2(0, 0), cc.v2(1, 0)],然后遍历一次添加到 dataArray 最后走一次 render,方块就出来了:
setCurrentData (currentShape: CurrentShapeData) {
const { center, color, index } = currentShape
const shape = `shape${color}`
const shapeData: cc.Vec2[][] = config[shape]
shapeData[index].forEach(ele => {
const row = center.x + ele.x
const col = center.y + ele.y
this.dataArray[row][col] = color
})
this.render()
}
|
好了,剩下的逻辑大家去 GitHub 上下载一波看一看吧,注释还是蛮多的!
结语
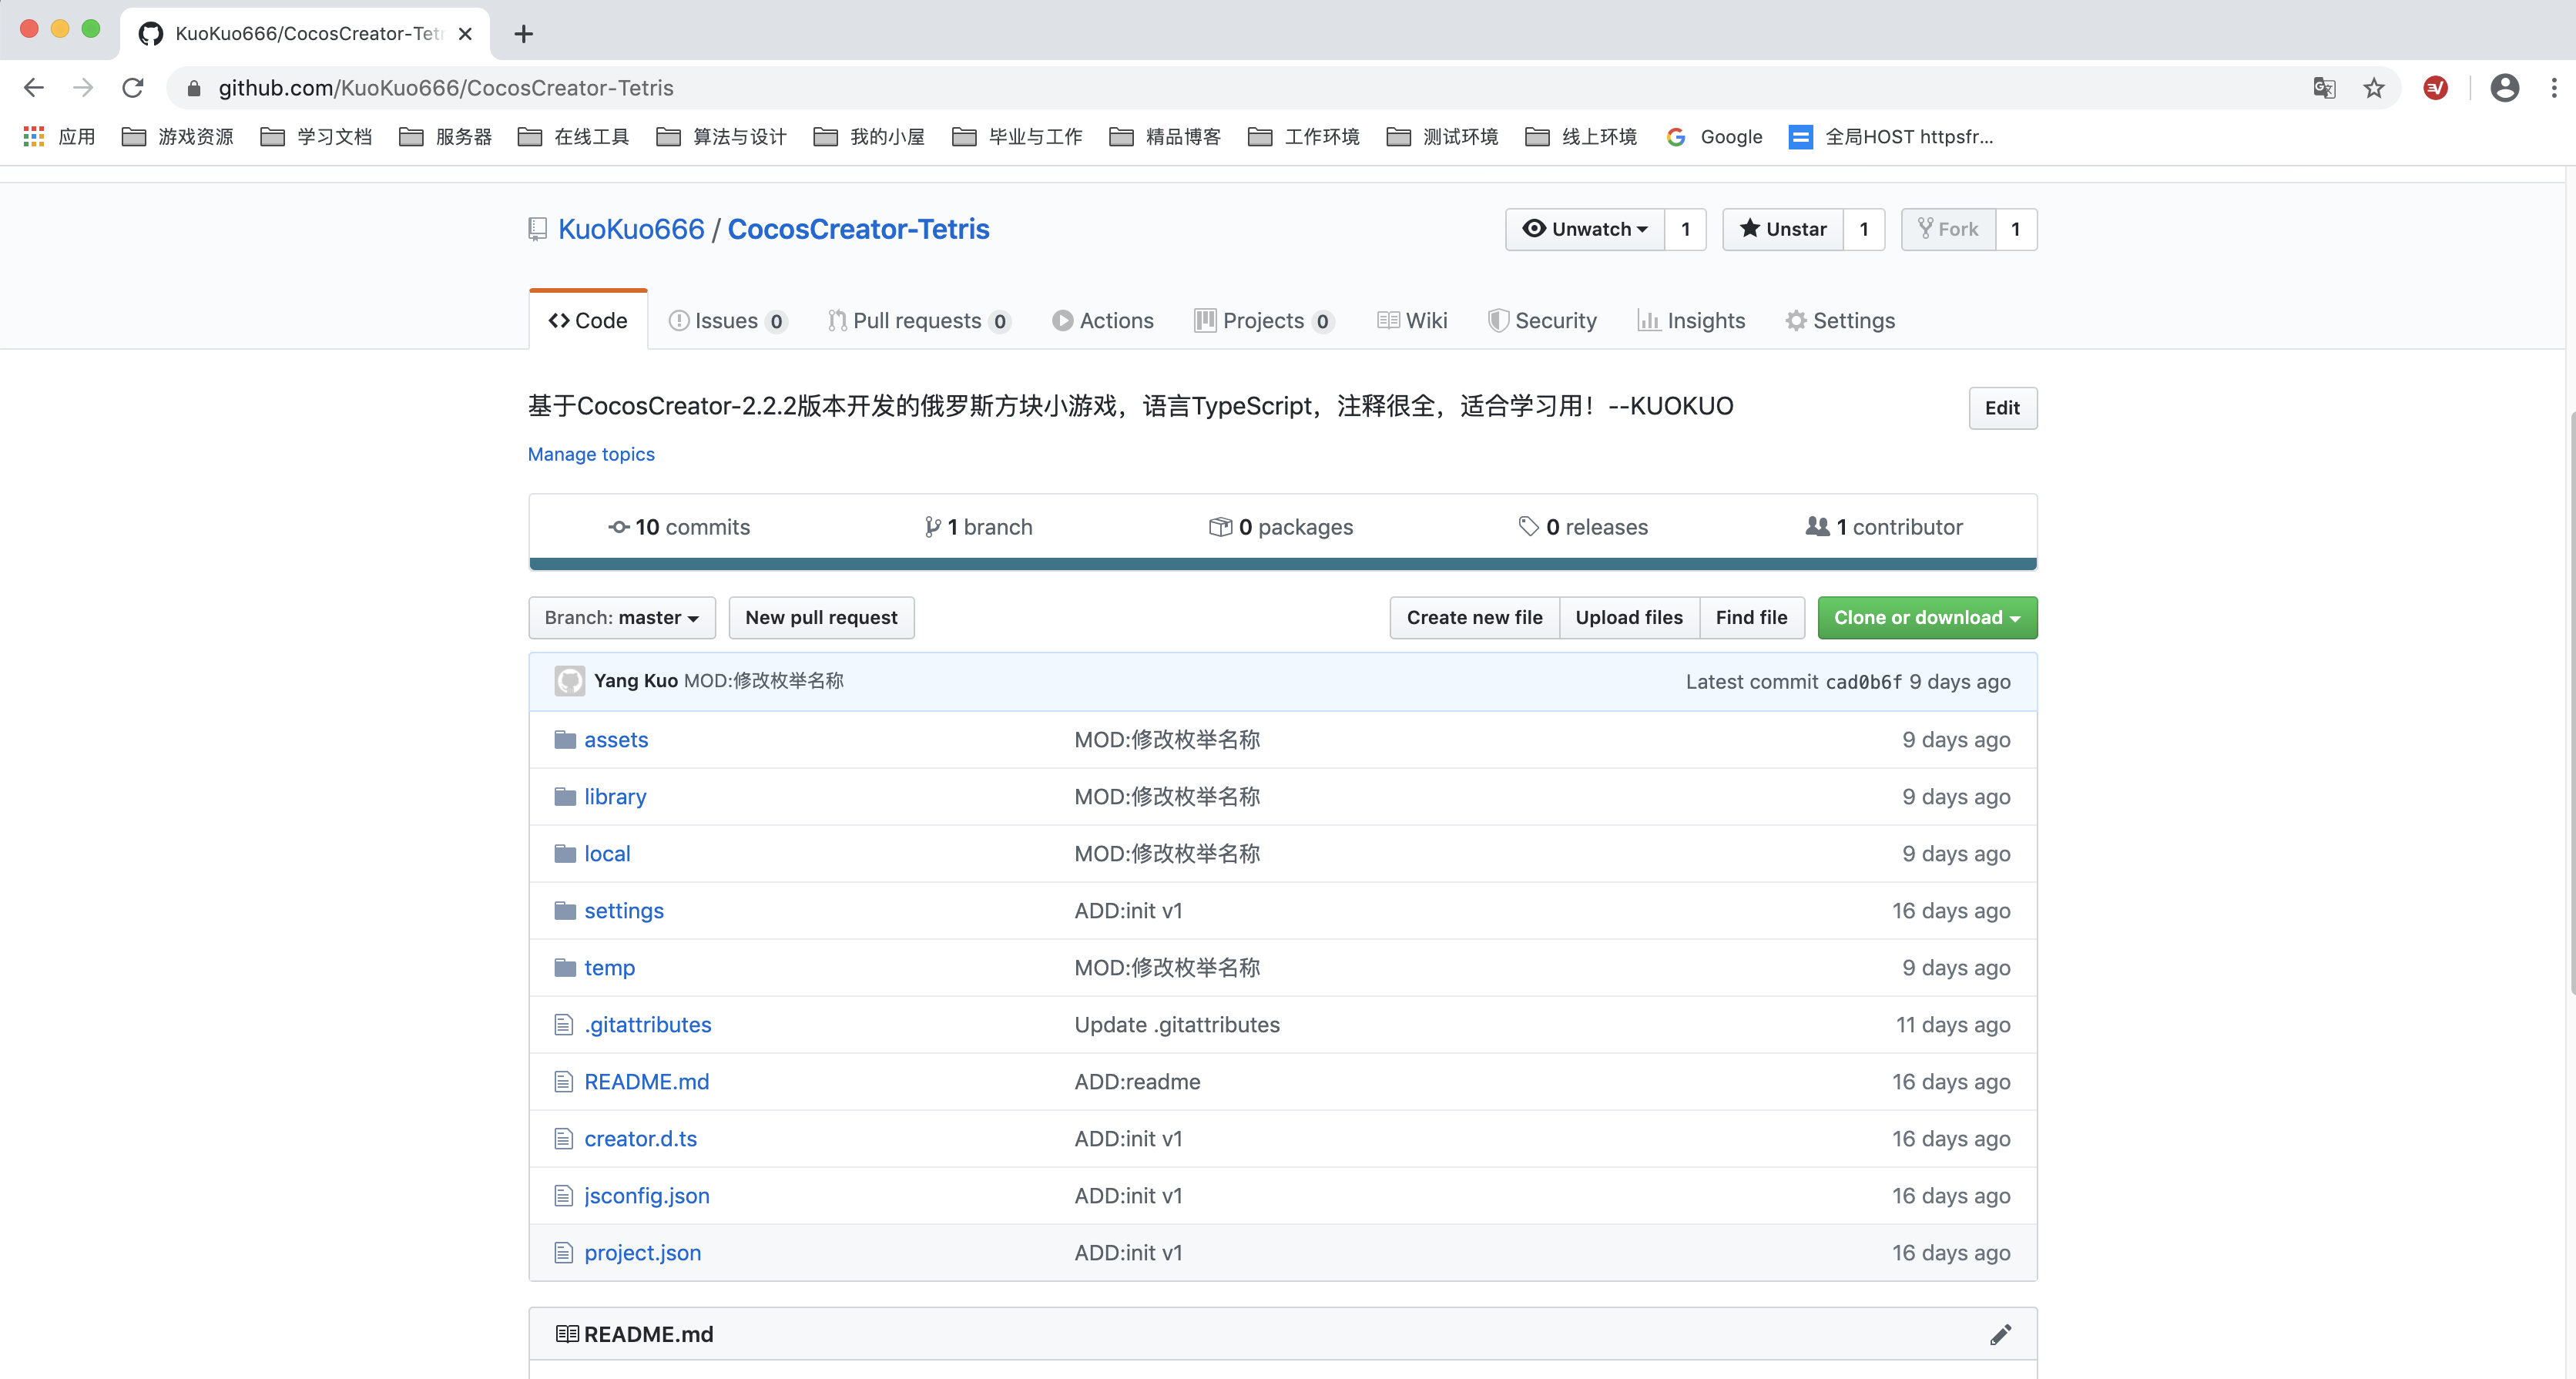
源码已经开源,喜欢的记得给点个 Star!
开源地址:https://github.com/KuoKuo666/CocosCreator-Tetris
O(∩_∩)O~~
微信公众号